

Welcome Coders! 💻️
In this guide, we'll explore the process of crafting an incredible interactive 3D website.
Before we proceed, take a look at my 3D Portfolio Website.
Let's get started! 👍️
Prerequisites:
Basic knowledge of Node.js
Installed Node.js and npm
Choosing the framework for creating a 3D website.
There are several libraries and frameworks for creating 3D websites.
Here are some examples:
Three js: A widely used JavaScript library for creating 3D graphics on the web. It provides a comprehensive set of tools for rendering 3D scenes and animations.
Babylon.js: Another powerful JavaScript framework for building 3D games and experiences on the web. It offers features for rendering, physics, collisions, and more.
WebGL (Web Graphics Library): Though not a framework, WebGL is a JavaScript API for rendering interactive 3D and 2D graphics within any compatible web browser.
For today's articles, our choice is to harness the power of Three.js as the primary tool to craft our 3D website.
🌟 Check out Threejs Examples on their website.
Inspiration

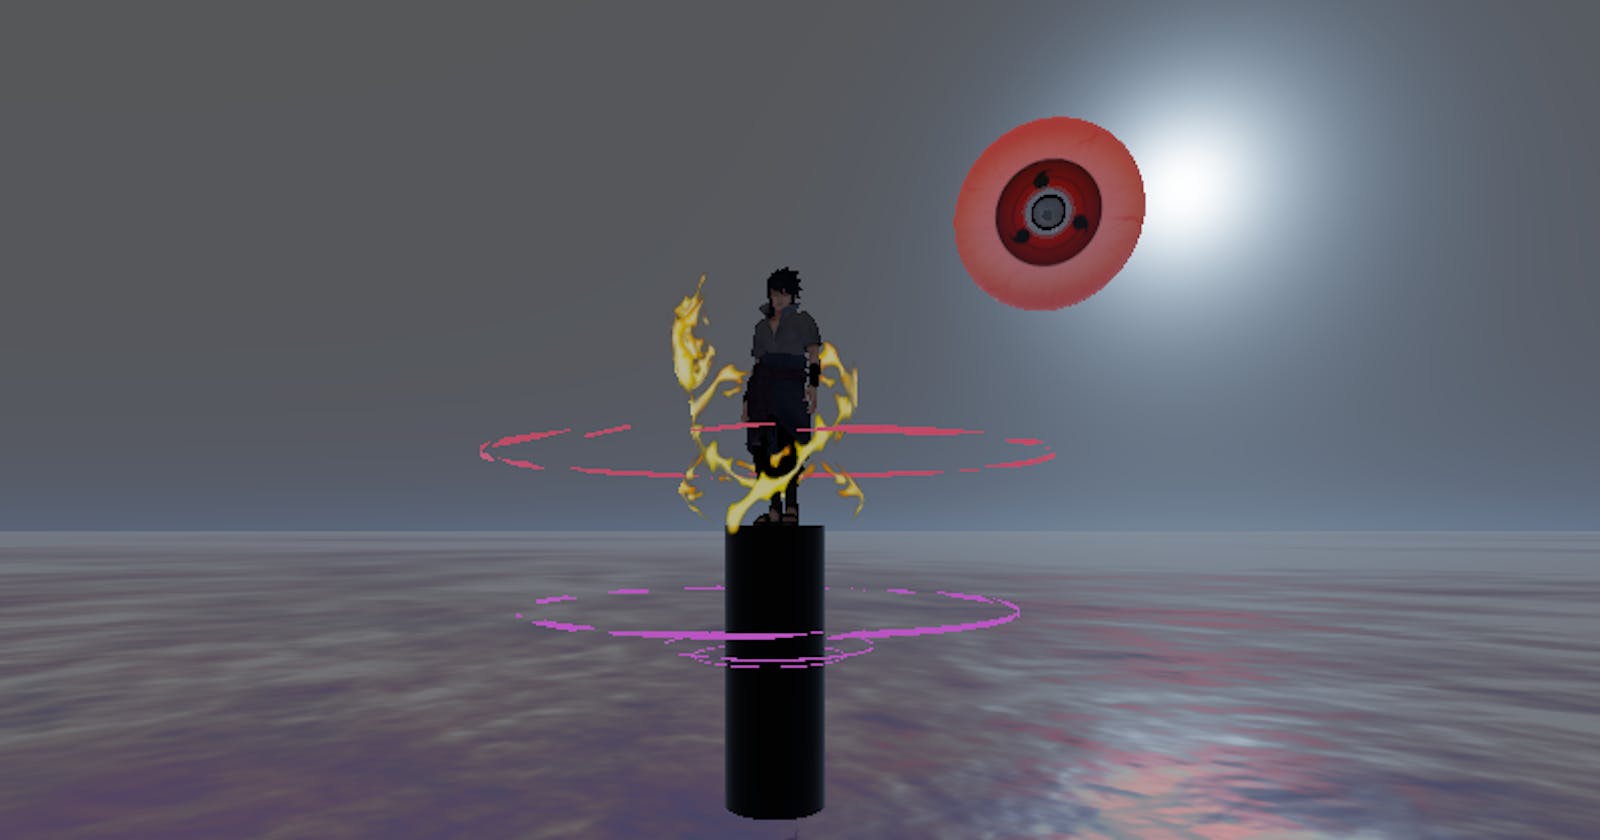
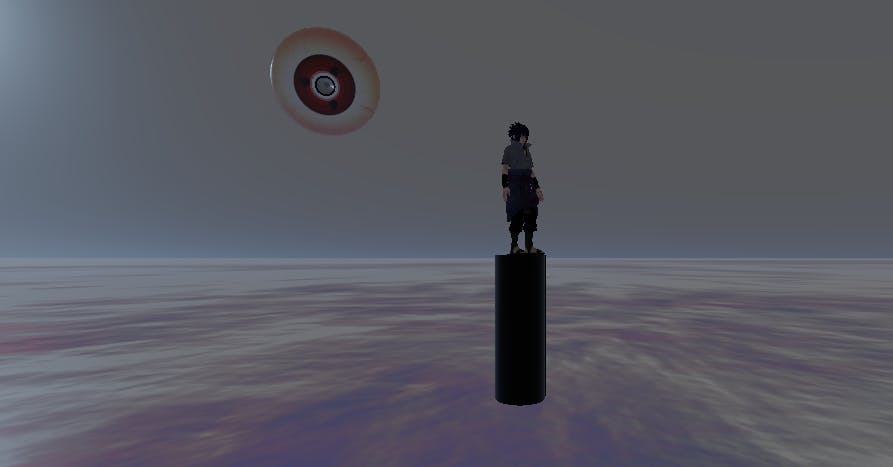
We're drawing inspiration from an amazing 3D artwork by Bob.Ho for our own website.
Our site will have a character standing on a pole, and we'll add a cool Sharingan Eye. The background will show an ocean and a night sky with a bright moon.
Let's setup our project
Every three.js project needs at least one HTML file to define the webpage, and a JavaScript file to run your three.js code.
index.html
  <!DOCTYPE html>
  <html lang="en">
      <head>
          <meta charset="utf-8">
          <meta name="viewport" content="width=device-width, initial-scale=1">
          <title>My first three.js app</title>
          <style>
              body { margin: 0; }
          </style>
      </head>
      <body>
          <script type="module" src="/main.js"></script>
      </body>
  </html>
main.js
  import * as THREE from 'three';

  //...
/public
- The public/ folder is sometimes also called a "static" folder because the files it contains are pushed to the website unchanged. Usually textures, audio, and 3D models will go here.
Installing Threejs library and a build tool (vite)
With a build tool, importing local JavaScript files and npm packages should work out of the box.
From the project folder terminal run the following code.
# three.js
npm install --save three

# vite
npm install --save-dev vite
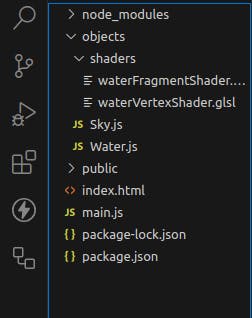
The installation will add node_modules/ and package.json to the project folder
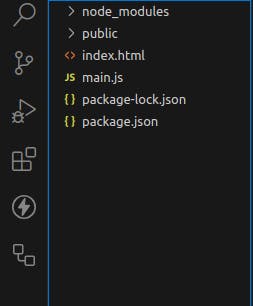
Here is the folder structure (reference):
Setting the scene
Our scene comprises the following elements:
Ocean
Sky
Sasuke Model (Main Character)
Sharingan Eye Model
Pole
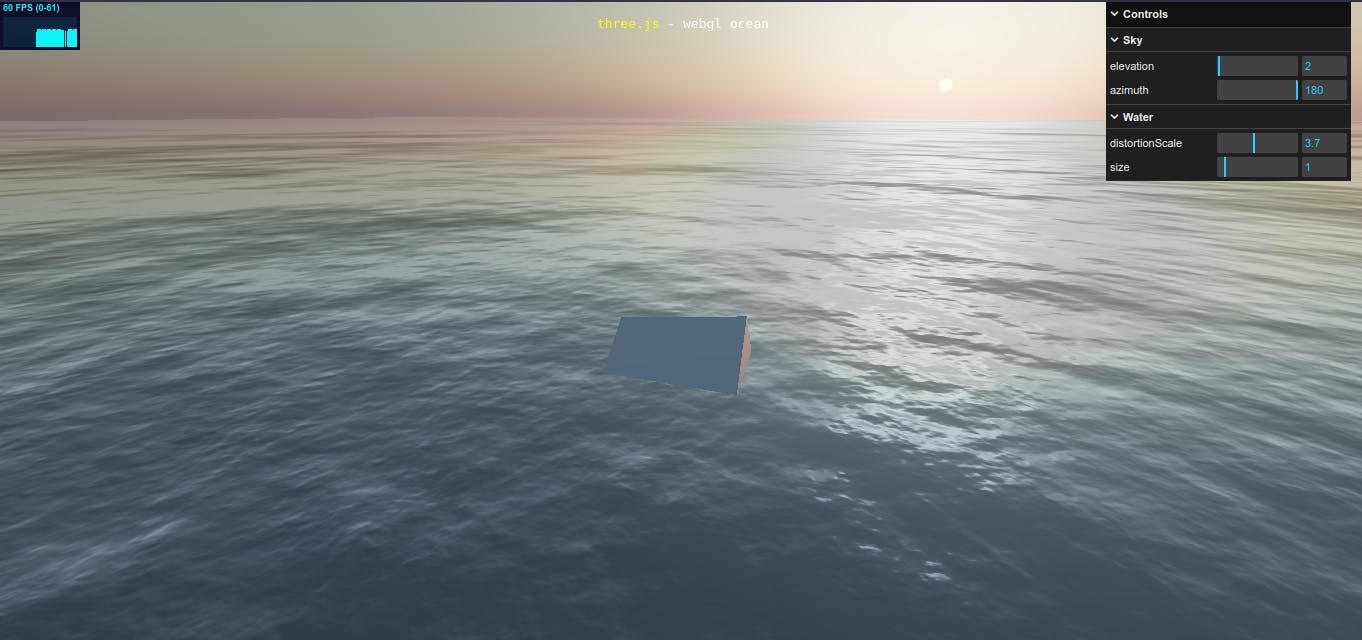
For Ocean and Sky, threejs includes example of Water Object and Sky Object they are pretty good.
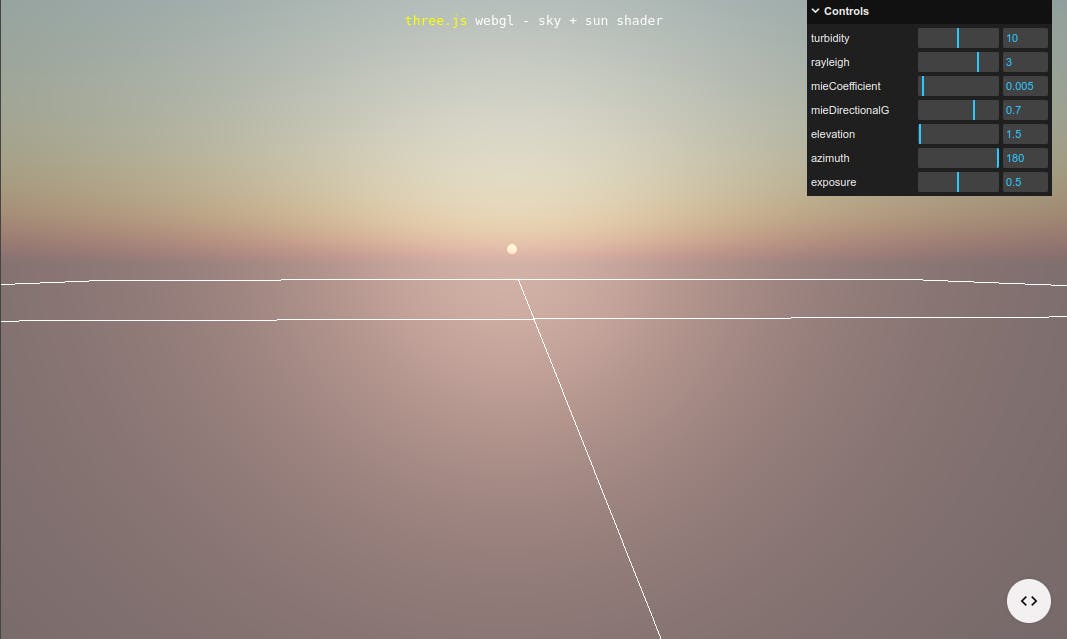
Water Object and Sky Object can be found on Three.js github.
The first thing we’ll do is grab a copy of the Water.js and Sky.js sample in the Three.js repository. We’ll place this file within our project at objects/ folder

If we open the water.js file, about halfway down, we’ll start to see something that looks like this:
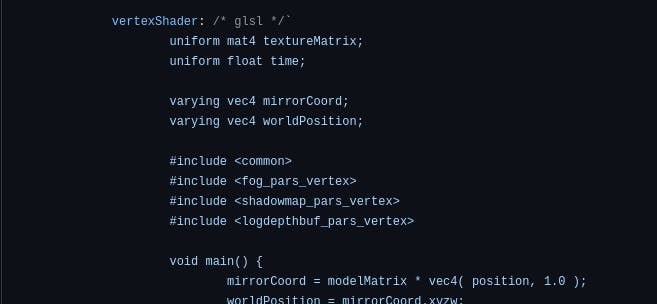
Vertexshader and Fragmentshader , these are shaders for ocean material written in OpenGraph Shader Language (GLSL).
Let's create shader directory in our objects/ folder
select the contents of vertexShader and fragmentShader, and move them into waterFragmentShader.glsl and waterVertexShader.glsl files, respectively**.**
To import the .glsl file into Water.js, we'll require the installation of a plugin named vite-plugin-glsl. Install this plugin using npm
npm install --save vite-plugin-glsl
Now create a vite.config.mjs file and add vite-plugin-glsl plugin.
vite.config.mjs
   import {defineConfig} from 'vite'
   import glsl from 'vite-plugin-glsl'

   export default defineConfig({
      plugins:[
          glsl({

          })
      ],
      base: '/Portfolio/'
   })
To actually be able to display anything with three.js, we need three things: scene, camera and renderer, so that we can render the scene with camera.
In main.js add scene, camera, renderer, water object, and sky object.
main.js
  import * as THREE from 'three';

  import  {Water} from './objects/Water'
  import {Sky} from './objects/Sky'
  import waternormals from './static/normals/waternormals.jpeg?url'

  import { OrbitControls } from 'three/addons/controls/OrbitControls.js';

  //Scene and Camera
  const scene = new THREE.Scene();
  const camera = new THREE.PerspectiveCamera( 75, window.innerWidth / window.innerHeight, 0.1, 2000 );

  let renderer,controls

  const waterGeometry = new THREE.PlaneGeometry(10000, 10000);
  //Water Object
  const water = new Water(
      waterGeometry,
      {
          textureWidth: 512,
          textureHeight: 512,
          waterNormals: new THREE.TextureLoader().load(waternormals, function (texture) {
              texture.wrapS = texture.wrapT =THREE.MirroredRepeatWrapping;
          }),
          sunDirection: new THREE.Vector3(),
          sunColor:0xff0000,  //0xff0000,   //0xffffff
          waterColor:0x80080, //0x80080, //0x001e0f
          distortionScale: 3.7,
          fog: scene.fog !== undefined
      }
  );

  function init(){

      renderer = new THREE.WebGLRenderer({ antialias: true });
      renderer.setPixelRatio( window.devicePixelRatio );
      renderer.setSize( window.innerWidth, window.innerHeight );
      renderer.toneMapping = THREE.ReinhardToneMapping;
      document.body.appendChild( renderer.domElement );

      //Orbit Controls
      controls = new OrbitControls(camera, renderer.domElement);

      //Add Water object
      water.rotation.x = -Math.PI / 2;
      water.rotation.z = 0;
      scene.add(water)

      const sky = new Sky();
      sky.scale.setScalar(10000); // Specify the dimensions of the skybox
      scene.add(sky); // Add the sky to our scene

      const skyUniforms = sky.material.uniforms;
      skyUniforms['turbidity'].value = 1;  //1 //0.001 5   10
      skyUniforms['rayleigh'].value = 0.01; //0.01 //0.01 6   2
      skyUniforms['mieCoefficient'].value = 0.003; //0.003 0.005
      skyUniforms['mieDirectionalG'].value = 0.988;   //0.988  0.8

      const parameters = {
          elevation: 20 , //20,  //30
          azimuth:190    //190   //175  115
      };
      const pmremGenerator = new THREE.PMREMGenerator(renderer);

      const phi = THREE.MathUtils.degToRad(90 - parameters.elevation);
      const theta = THREE.MathUtils.degToRad(parameters.azimuth);
      const sun=new THREE.Vector3()
      sun.setFromSphericalCoords(1, phi, theta);

      sky.material.uniforms['sunPosition'].value.copy(sun);
      water.material.uniforms['sunDirection'].value.copy(sun).normalize();
      scene.environment = pmremGenerator.fromScene(sky).texture;
      water.material.uniforms['time'].value=10.0

       //Camera initial position
      camera.position.z = 30;
      camera.position.y=30
      camera.rotation.x=30

      controls.update()

  }

  window.addEventListener('resize',onWindowResize,false)

  //Handle Window resize
  function onWindowResize(){
      renderer.setSize( window.innerWidth, window.innerHeight );
      camera.aspect = window.innerWidth / window.innerHeight
      water.material.uniforms['time'].value+=1/60.0
      camera.updateProjectionMatrix()
  }

  //Render animation
  function animate() {
      requestAnimationFrame( animate );
      renderer.render( scene, camera );
      water.material.uniforms['time'].value+=1/60.0
  }

  init()
  animate();
Add scripts in package.json file to run project
package.json
  {
    "scripts": {
      "dev": "vite",
      "build": "vite build",
      "preview": "vite preview"
    },
    "dependencies": {
      "three": "^0.159.0"
    },
    "devDependencies": {
      "vite": "^5.0.8",
      "vite-plugin-glsl": "^1.2.1"
    }
  }
Run the following code in terminal to run the project:
npm run dev
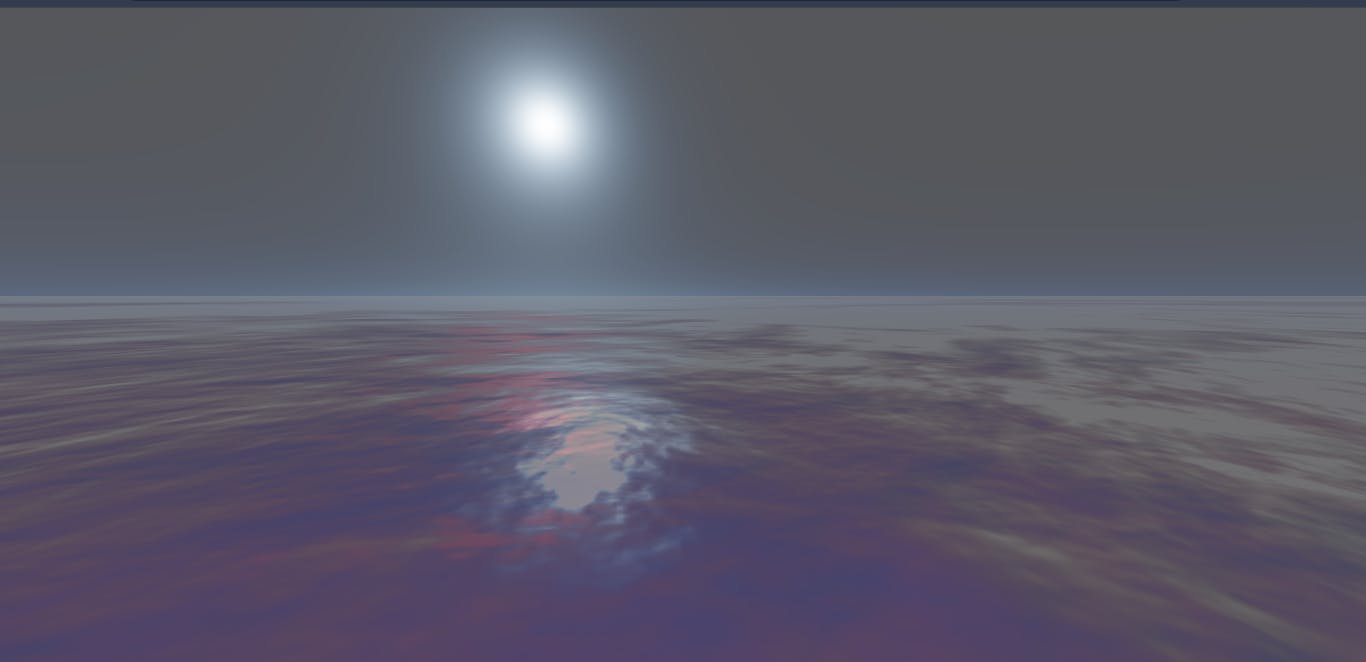
If everything worked as expected, you'll be greeted with a stunning night sky and ocean displayed in your browser.
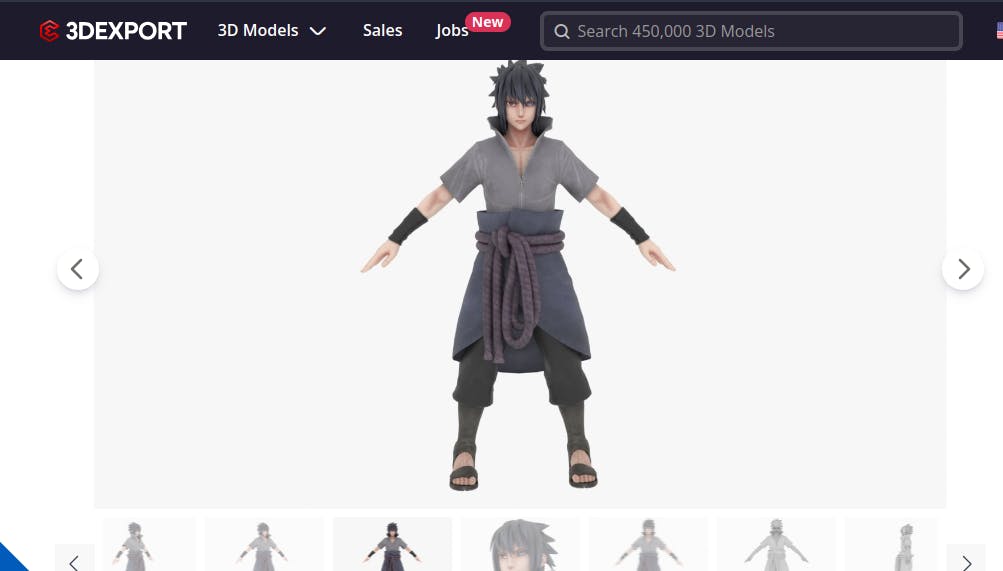
Next for the main character and sharingan eye we will use 3D models.
Here are some websites to download free 3D models:
-
Main character:
Sharingan Eye

Animating character
Mixamo is an online platform that provides pre-made 3D character animations and rigging tools. Mixamo simplifies the process of animating 3D characters by allowing users to customize and apply.
The perfect tool for our project.
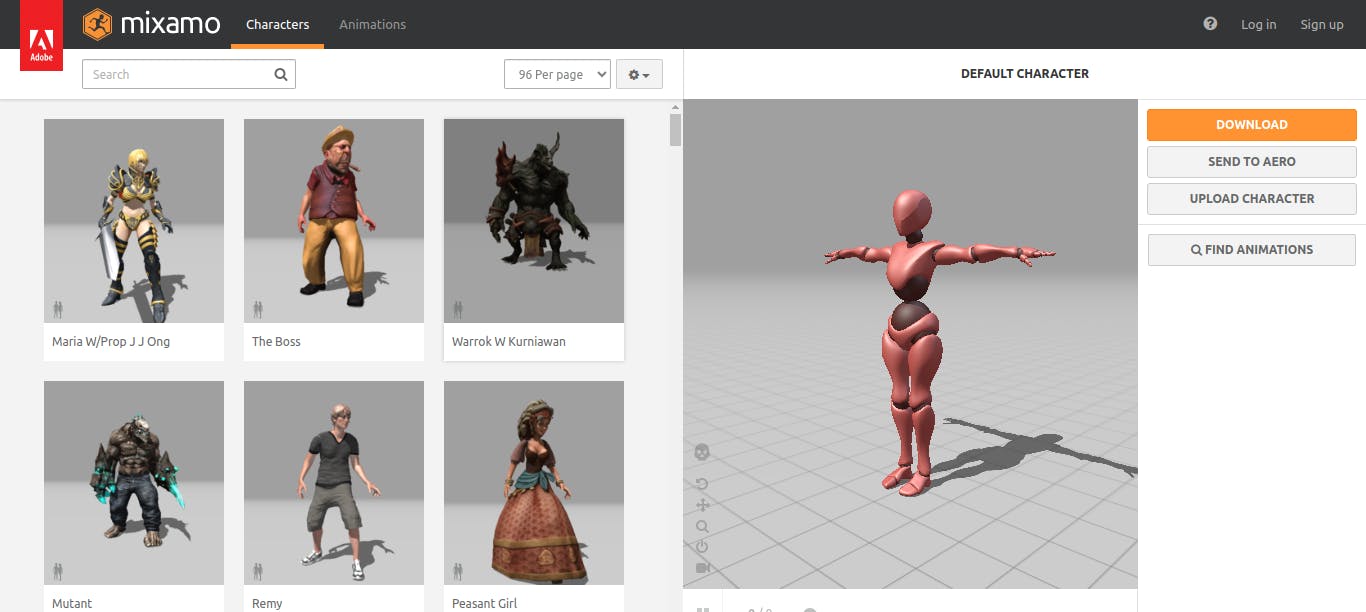
Your character most definitely should be in a T pose, because Mixamo is going to generate the skeleton for us, so it is expecting this.
The first thing you want to do is upload your character. Mixamo accepts FBX and OBT formats. Mixamo will automatically bring up the Auto-Rigger feature once your upload is complete.

Follow the instructions to place the markers on the key areas of your model. Once the auto-rigging is complete, you’ll see a panel with your character animating!

Let’s find a simple animation. The one we used in this guide is called “Neutral idle”. Click Download Character. Your format should be FBX and skin should be set to With Skin. Leave the rest as default. Download this file.
To load this model in our project GLTF loader dependency will be used.
For that, we need to convert the model format from FBX to GLB/GLTF.
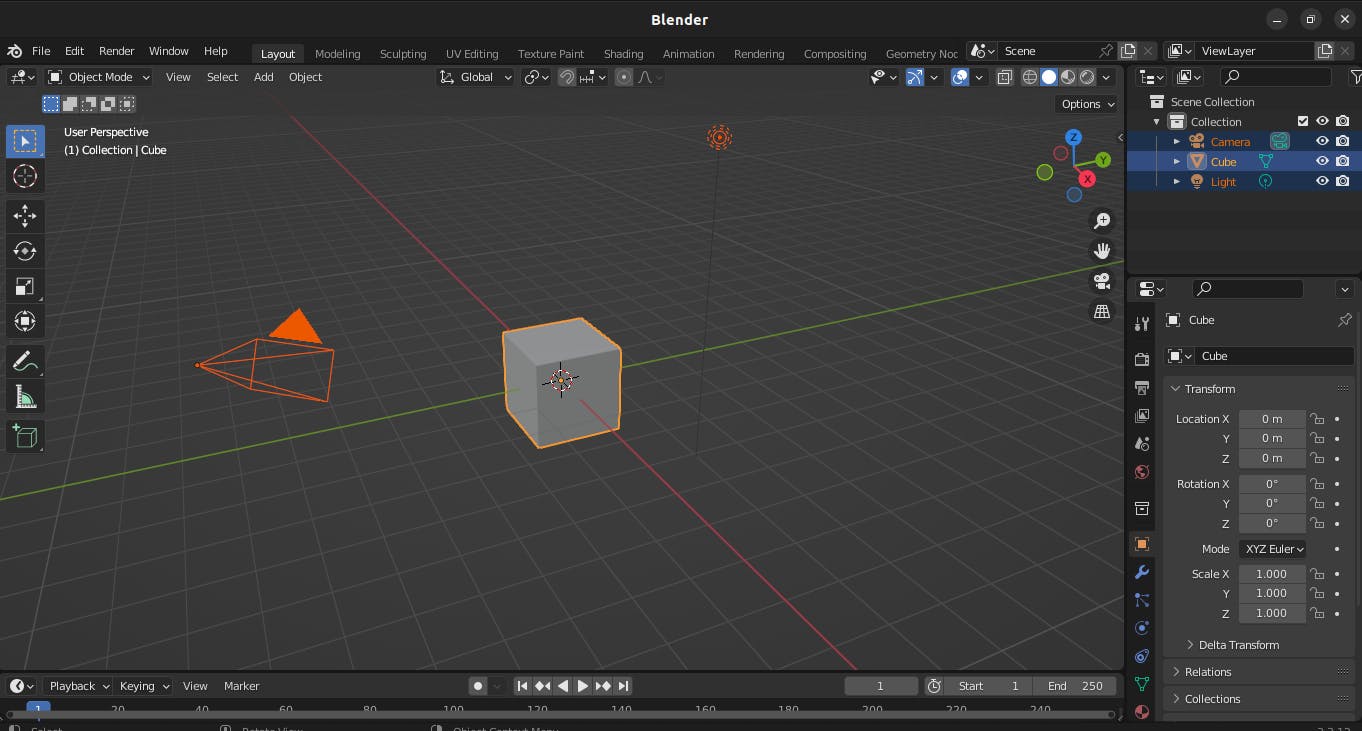
For this purpose, blender is the tool we need. Blender is an open source 3D modeling tool software and much more.
Once Blender is open, start by removing unnecessary elements such as the camera, cube, and light.
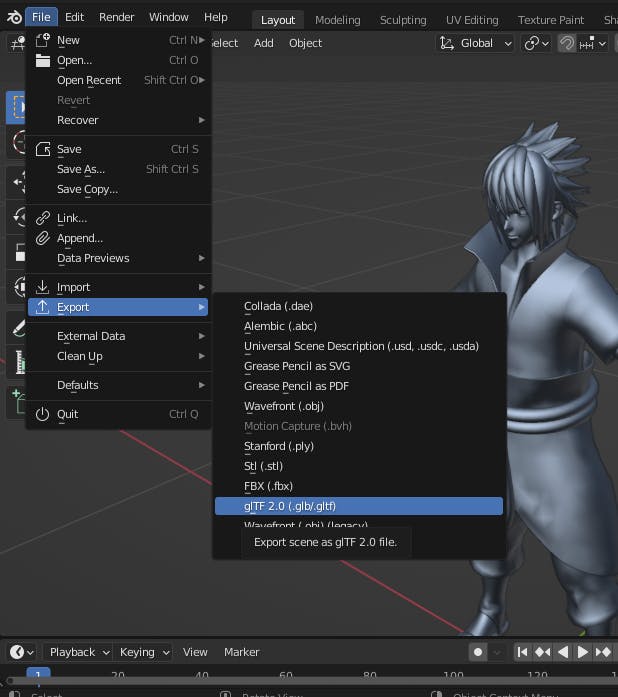
Import the downloaded file(FBX fromat) from mixamo inside blender.

For conversion of file, export it in glb format
Create models directory in our public/ folder and move model files into the model folder.

We’re going to use our GLTFLoader dependency to load both models into our scene. And also create a Simple Cylinder Pole using Mesh.
main.js
  import { GLTFLoader } from 'three/addons/loaders/GLTFLoader.js';
  import sasukemodel from '/models/sasuke.glb?url'
  import sharinganeye from '/models/sharingan.glb?url'

  let sharingan

  //inside init function
  init (){

  //.....
  //Add Cylinder Pole to scene
  const geometry = new THREE.CylinderGeometry( 1.8, 1.8, 20, 25 );
  const material = new THREE.MeshStandardMaterial({
      color: 0x000000,
      roughness: 0.1,
      metalness: 1,
  });
  const cylinder = new THREE.Mesh( geometry, material );
  scene.add( cylinder );

  //Main character
  let model
      const loader=new GLTFLoader()
      //Add Sasuke to scene
      loader.load(sasukemodel,function(glft){
      model=glft.scene
      model.scale.set(12, 12, 12);
      model.position.y+=9.8
      scene.add(model)
  });

  //sharingan eye
  loader.load(sharinganeye,function(glft){
      sharingan=glft.scene
      sharingan.scale.set(300,300,300)
      sharingan.position.x+=0
      sharingan.position.z-=30
      sharingan.position.y+=30
      scene.add(sharingan)
  })

  //....
  }

All Elements are placed perfectly in place. Now we need to play the animation that we added using Maximo.
We’re going to create a new AnimationMixer, an AnimationMixer is a player for animations on a particular object in the scene.
An animation clip of the object can be accessed by its name.
Once the model gets loaded inside the GLTf loader method, console.log() to find the animation clip name.
So in our case, the name is "idle".

main.js
  //Clock for Model Animation
  let clock = new THREE.Clock()
  let  mixer,idle,
  //inside init function

  function init(){
  //......

      let model
      const loader=new GLTFLoader()
      //Add Sasuke to scene
      loader.load(sasukemodel,function(glft){
      model=glft.scene
      //console.log(model)
      model.scale.set(12, 12, 12);    //8
      model.position.y+=9.8
      let animation=glft.animations
      scene.add(model)

      mixer = new THREE.AnimationMixer(model)
      let idleAnim = THREE.AnimationClip.findByName(animation, 'idle');
      idle = mixer.clipAction(idleAnim);
      idle.play();

  });
  }

  //inside animate function
  function animate(){
  //.......
     if (mixer) {
          mixer.update(clock.getDelta());
      }

  //.......

  }
Let's make the Sharingan eye move along with how the orbit controls move. Using an event listener, we'll adjust how the Sharingan rotates by changing its x and y positions based on what the user does with the orbit controls.
We also need to customize the orbit controls by setting min/max PolarAngle(up/down) and min/max AzimuthAngle(right/left). This involves setting limits for how high or low and how far left or right the controls can move.
function init(){
//......

    loader.load(sharinganeye,function(glft){
    console.log(glft)
    sharingan=glft.scene
    sharingan.scale.set(300,300,300)
    sharingan.position.x+=0
    sharingan.position.z-=30
    sharingan.position.y+=30
    scene.add(sharingan)

    controls.addEventListener('change',()=>{
        let azimuthangle=controls.getAzimuthalAngle()
        //Sharigan Eye y rotation
        sharingan.rotation.y=azimuthangle/2
        //Sharingan Eye x rotation
        if(azimuthangle<0){
             sharingan.rotation.x=-azimuthangle/2
        }else{
            sharingan.rotation.x=azimuthangle/2
        }

    })
})
     //Camera initial position
    camera.position.z = 30;
    camera.position.y=30
    camera.rotation.x=30
    controls.target.set(0,9.9,0)
    controls.distance=30
    controls.minDistance=30
    controls.maxDistance=30
    controls.minPolarAngle=Math.PI/2
    controls.maxPolarAngle=Math.PI/2
    controls.minAzimuthAngle=-0.9
    controls.maxAzimuthAngle=0.9
    controls.enablePan=false

    controls.update()
}
That's it!
For any questions, you can reach me on Linkedin